

Multi-factor Authentication on VPN has a different experience from web apps, since it uses the Cisco AnyConnect native app instead of a browser. If you have not enrolled for UBC or want to manage your MFA devices, click here.
Once a connection for a particular VPN session has been established you will not be challenged with an authentication request for any other application or service while securely connected (unless you are attempting to access an application that contains confidential or highly secure information).
To connect to VPN with MFA, follow the steps below or watch the video (replace vpnpool with eos).
- Open the Cisco AnyConnect Security Mobility Client

- Enter your CWL username and append .eos at the end, then enter your CWL password
- The new additional step is to type “@” after your username along with how you want to authenticate.
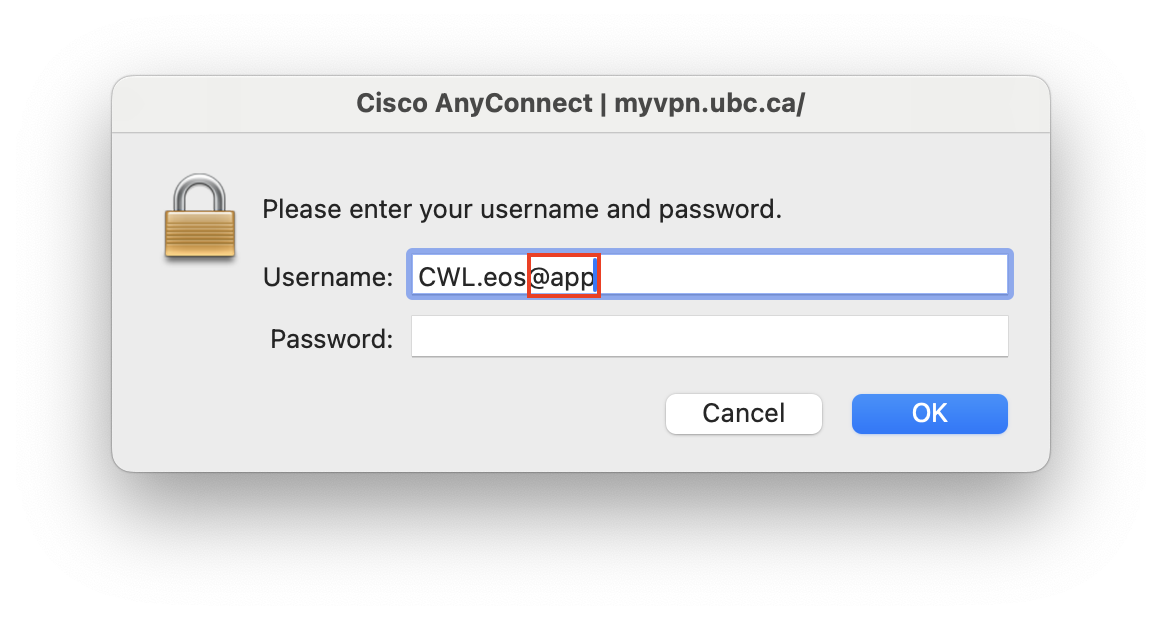
Duo App Enter username.eos@app if you wish to authenticate using your smartphone Phone Call Enter username.eos@call if you wish to authenticate by a phone call either to a landline (deskphone) or mobile phone. Please note that if you used username.eos@phone before, this '@phone' prefix still works too. Passcode Enter username.eos@****** if you wish to authenticate using a passcode generated by a hardware token or a soft token using the Duo app.
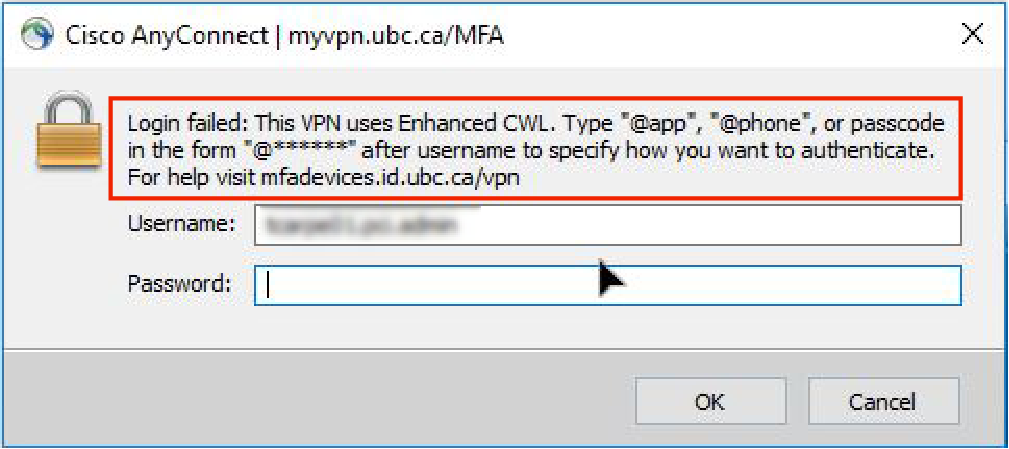
The * indicates the unique code generated for a particular authentication instance. Enter the numbers as they appear on your token after @, not the actual asterisks).If any information is entered incorrectly or forgotten you will see an error message reminding you of the extra information required to authenticate
- The new additional step is to type “@” after your username along with how you want to authenticate.
Once entered correctly, an authentication request will be sent to your method of choice
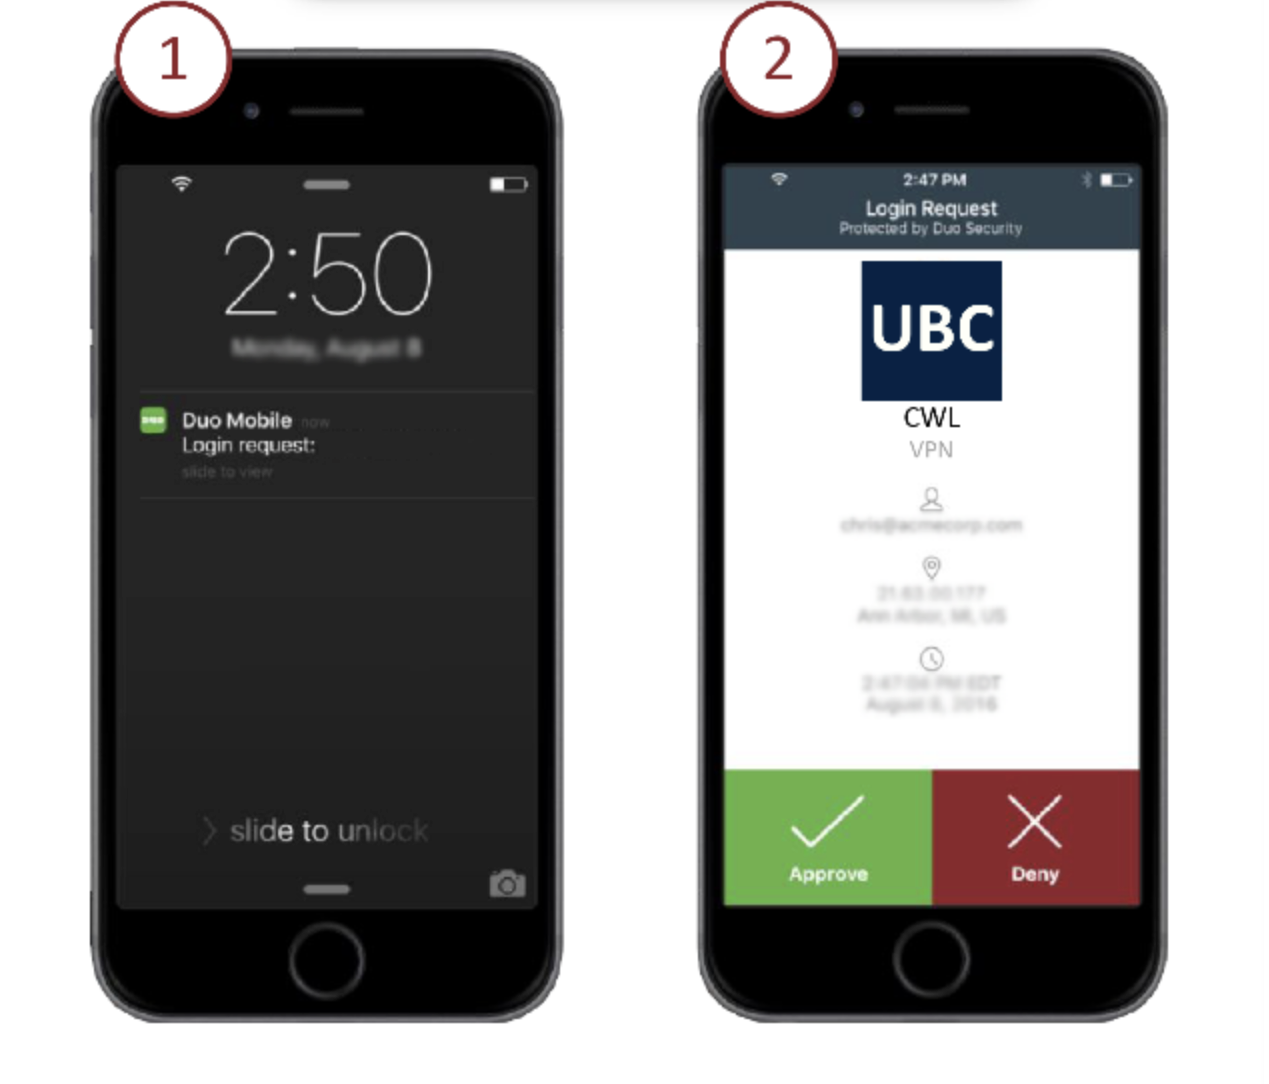
- You will not see a separate message on the AnyConnect client specifying that a response is waiting
- You will know that the authentication has been approved when the AnyConnect dialog box changes to “Establishing VPN Session”
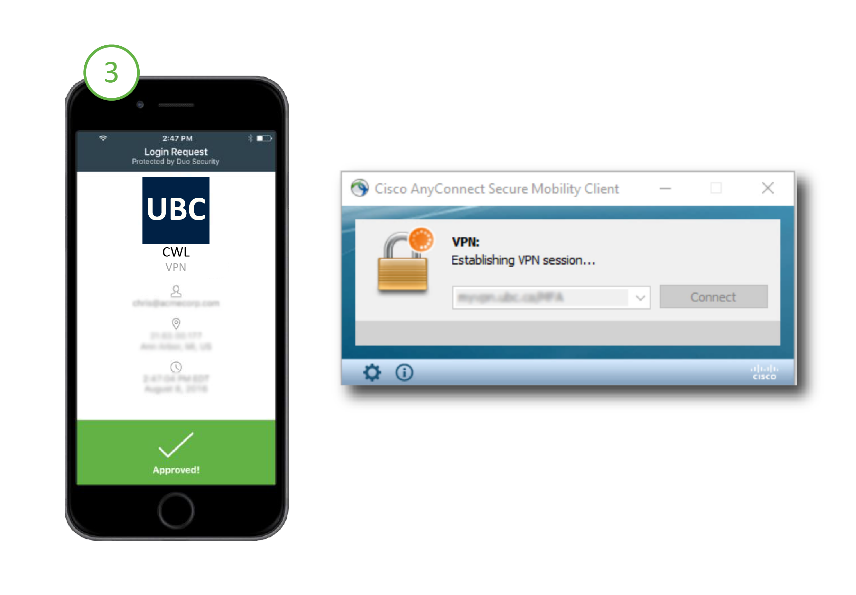
- Once a connection is established you will be able to proceed as usual
The AnyConnect client will recall the information entered from your previous session.
If you authenticate using the same method for each request, you will simply:- Open the Cisco AnyConnect Security Mobility Client
- The username and method of authentication will already be populated
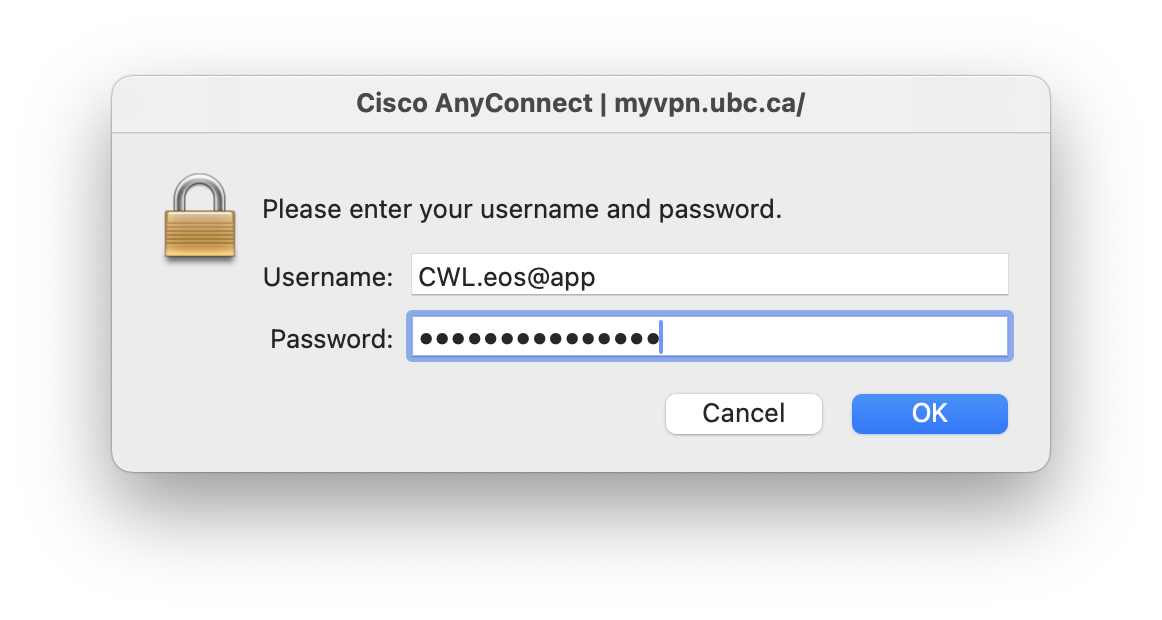
- Enter your password and click ‘Okay’
- An authentication request will be sent to the method specified
- You will know that the authentication has been approved when the AnyConnect dialog box changes to “Establishing VPN Session”
Adapted from: https://mfadevices.id.ubc.ca/vpn