

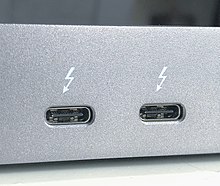
- Connect the screen and webcam with the available ports on your laptop. If you have a Macbook or laptop with a Thunderbolt port (shown below), go to step 2. If you have a Windows laptop or a laptop without a Thunderbolt port, go to step 3.
- Connect the HDMI cable (2b) and USB cable (2c) to the Thunderbolt adapter (2a) and into your laptop. Go to step 5.
 2a.
2a.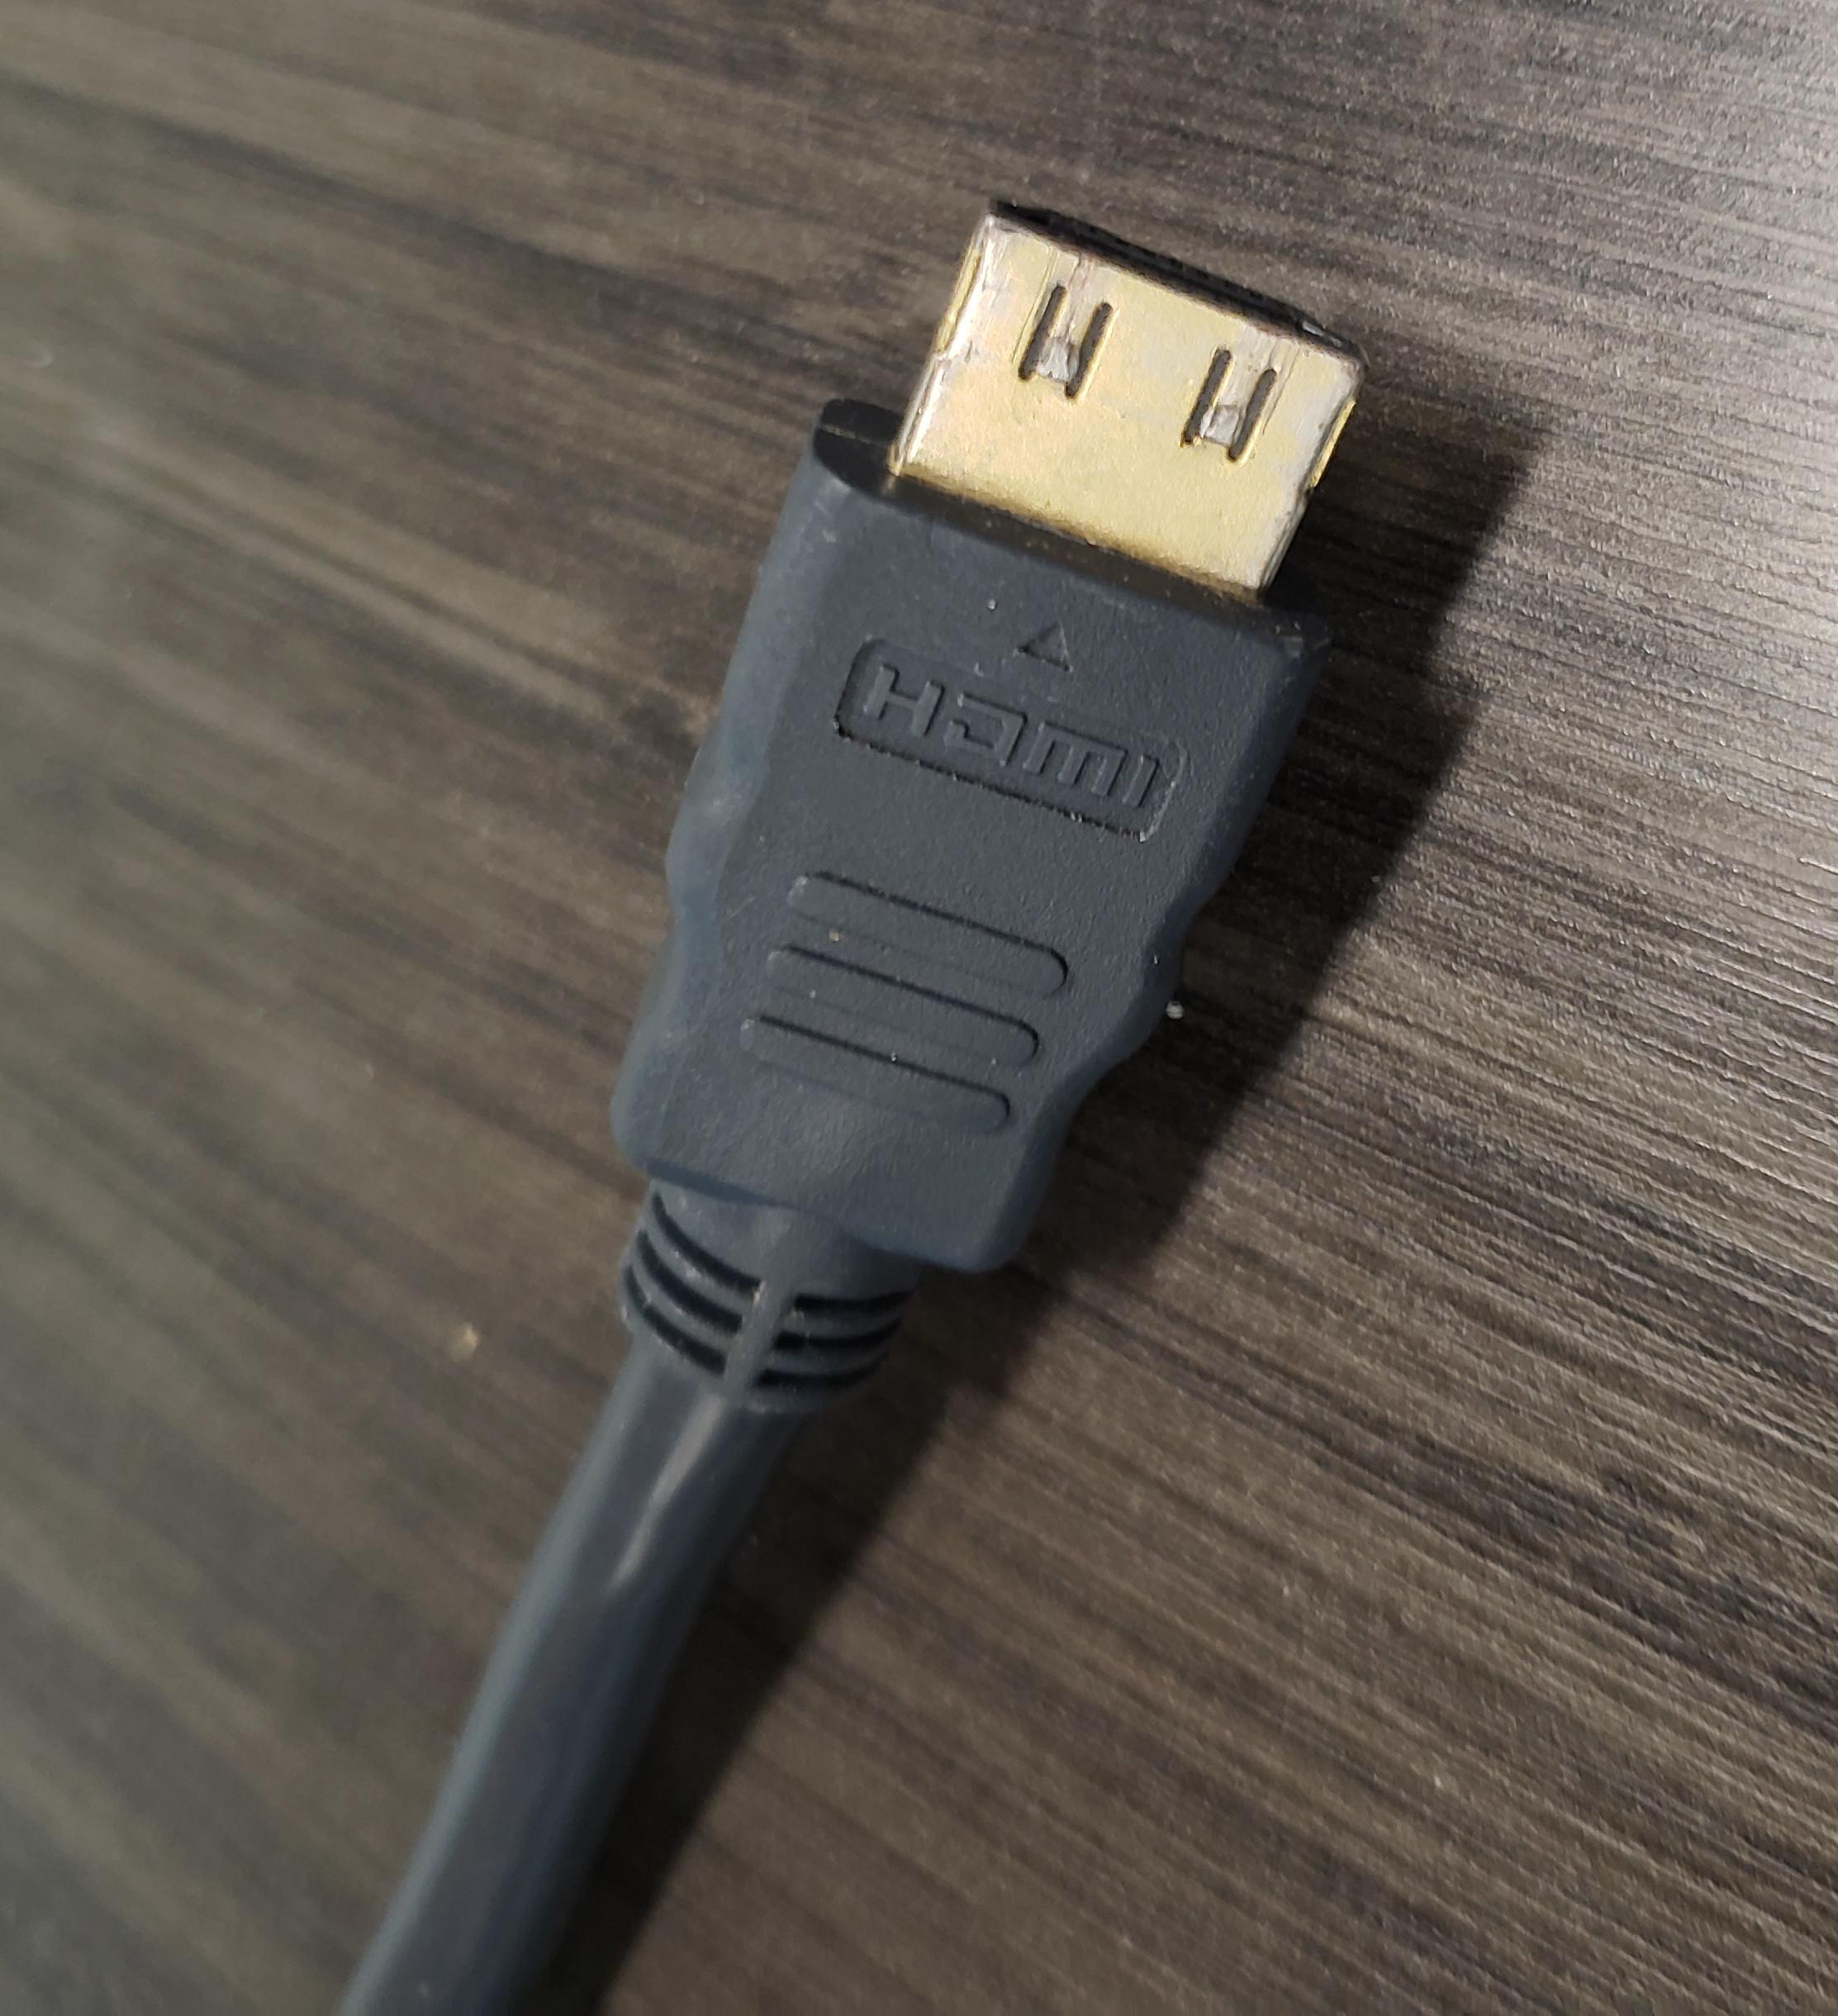 2b.
2b.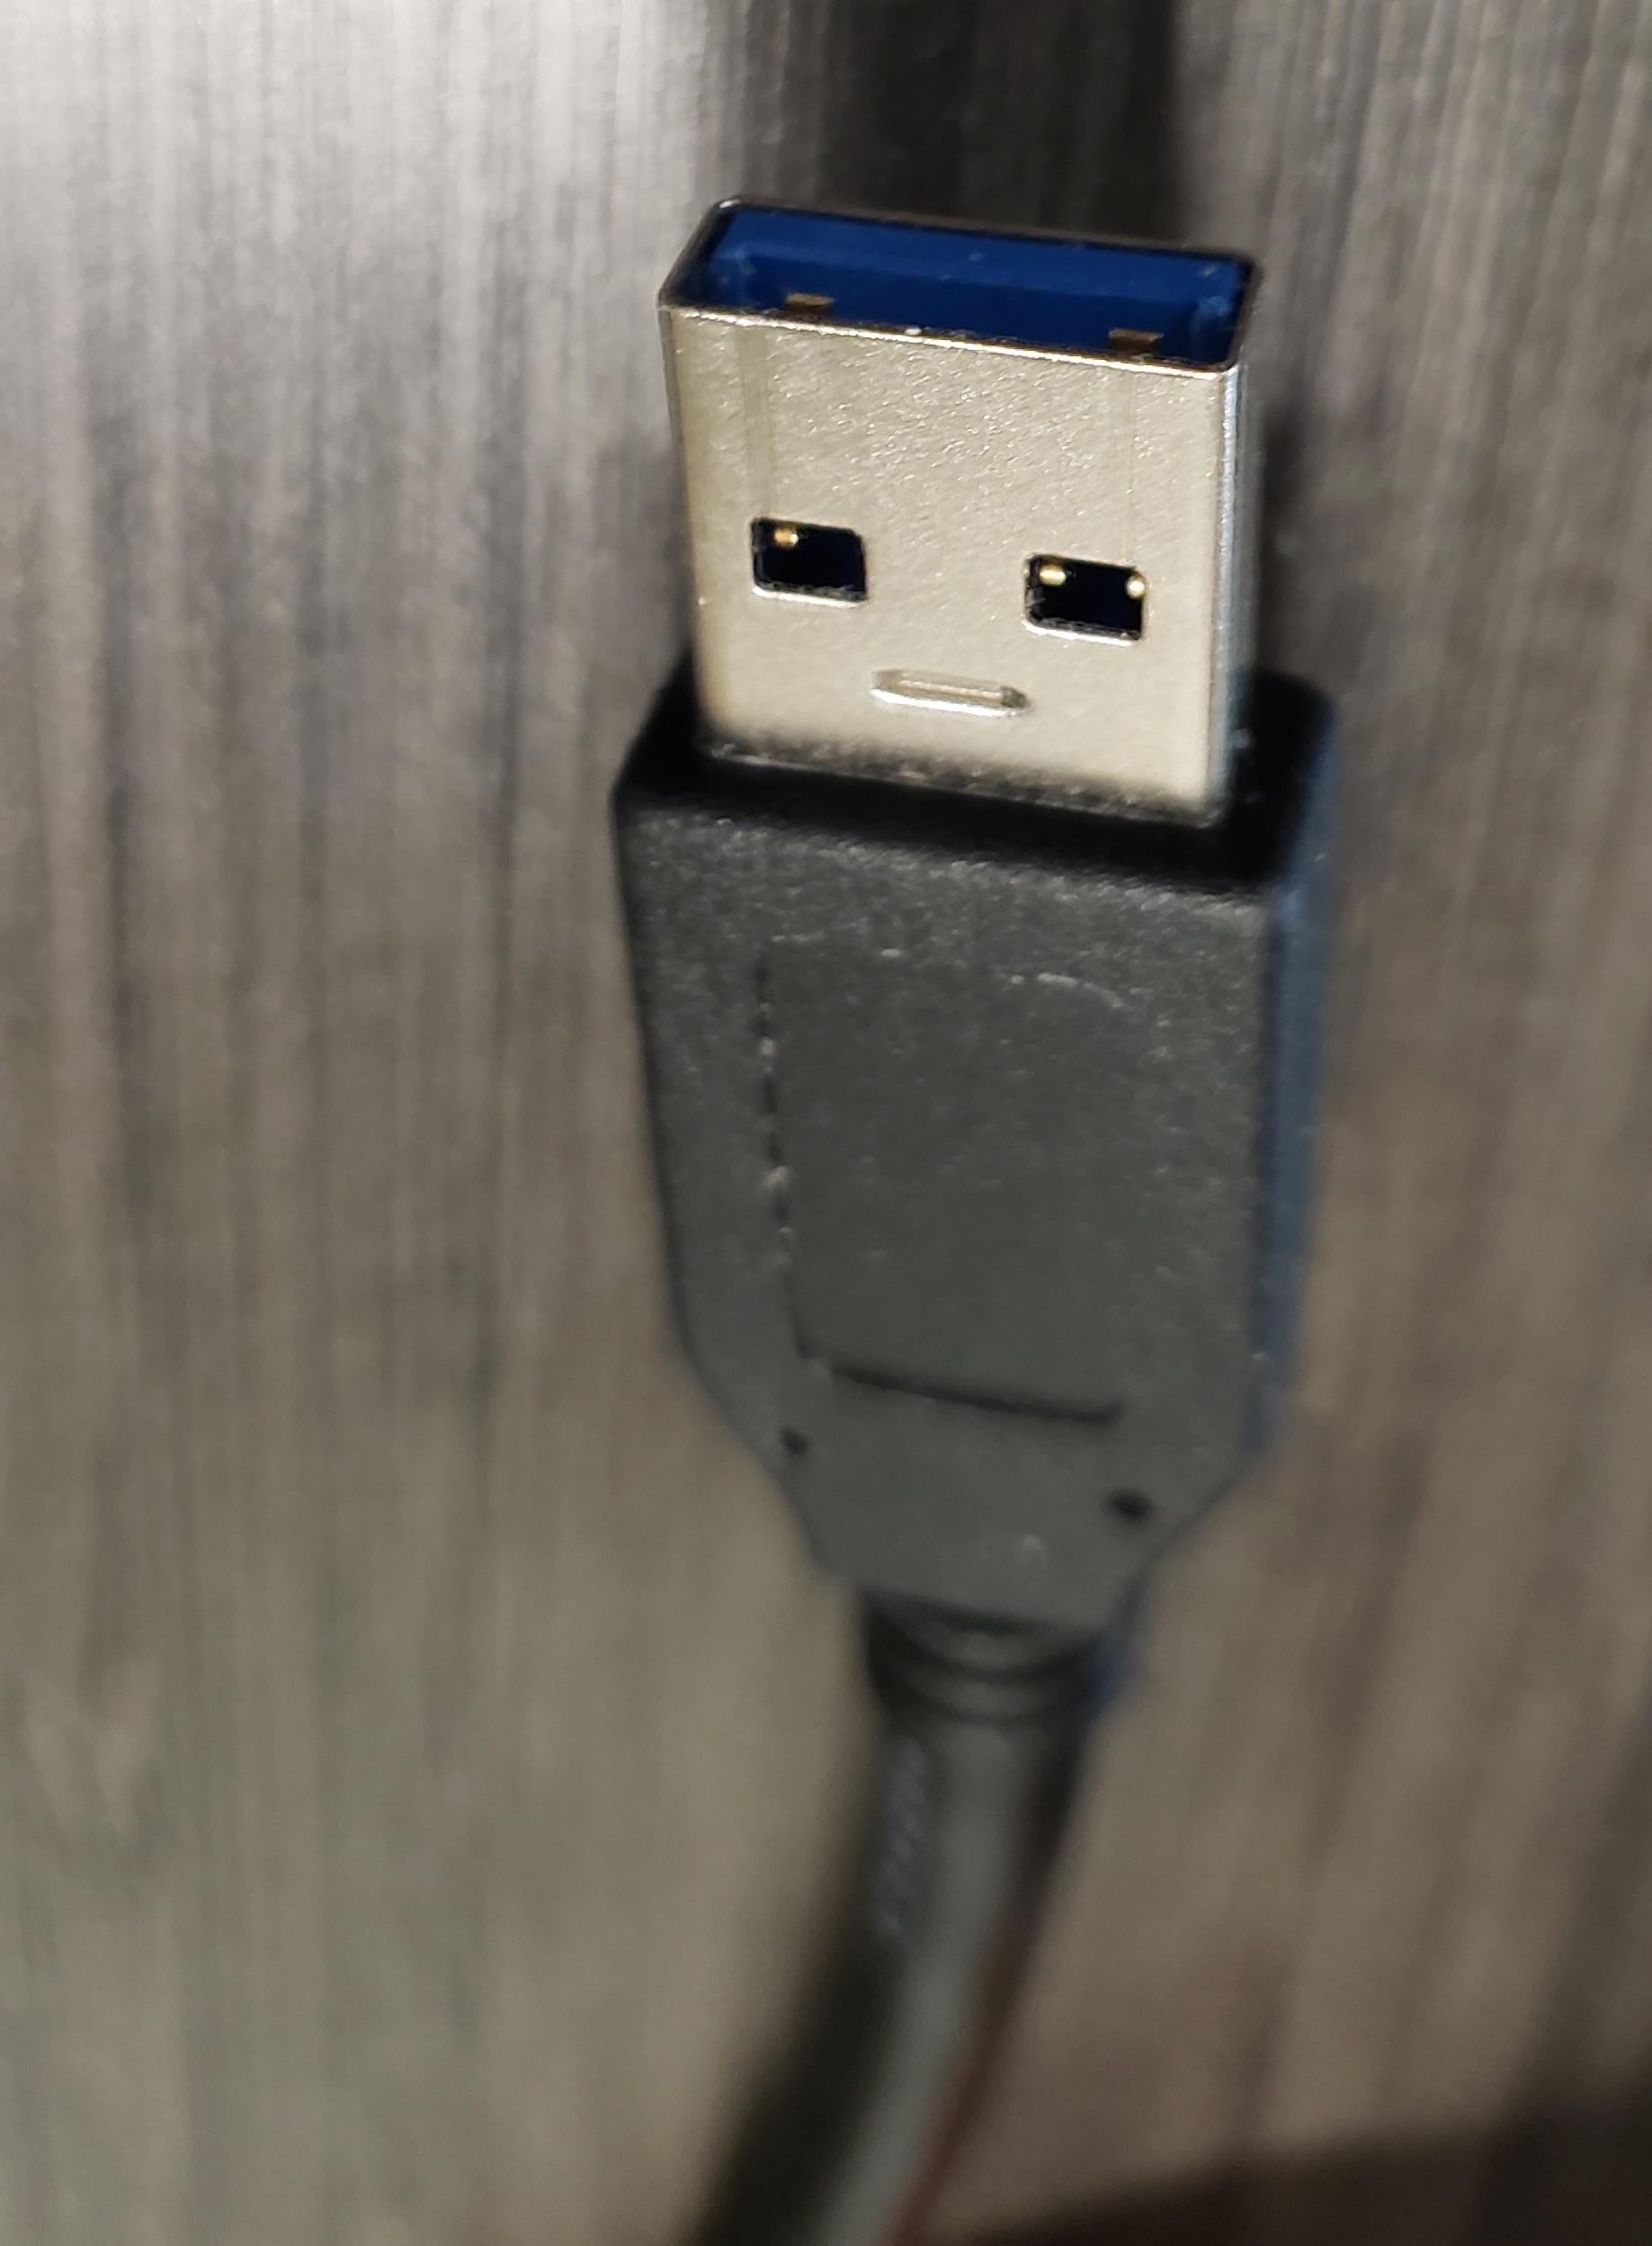 2c.
2c. - Connect the HDMI (2b) and USB cable (2c) in to your laptop. If you do not have a HDMI port, connect the VGA cable and 3.5mm cable (3a) into your laptop. If you have Mini DisplayPort and no VGA port, connect the Mini DisplayPort adapter to the VGA cable (3b), then connect the adapter and 3.5mm cable to your laptop.
 3a.
3a.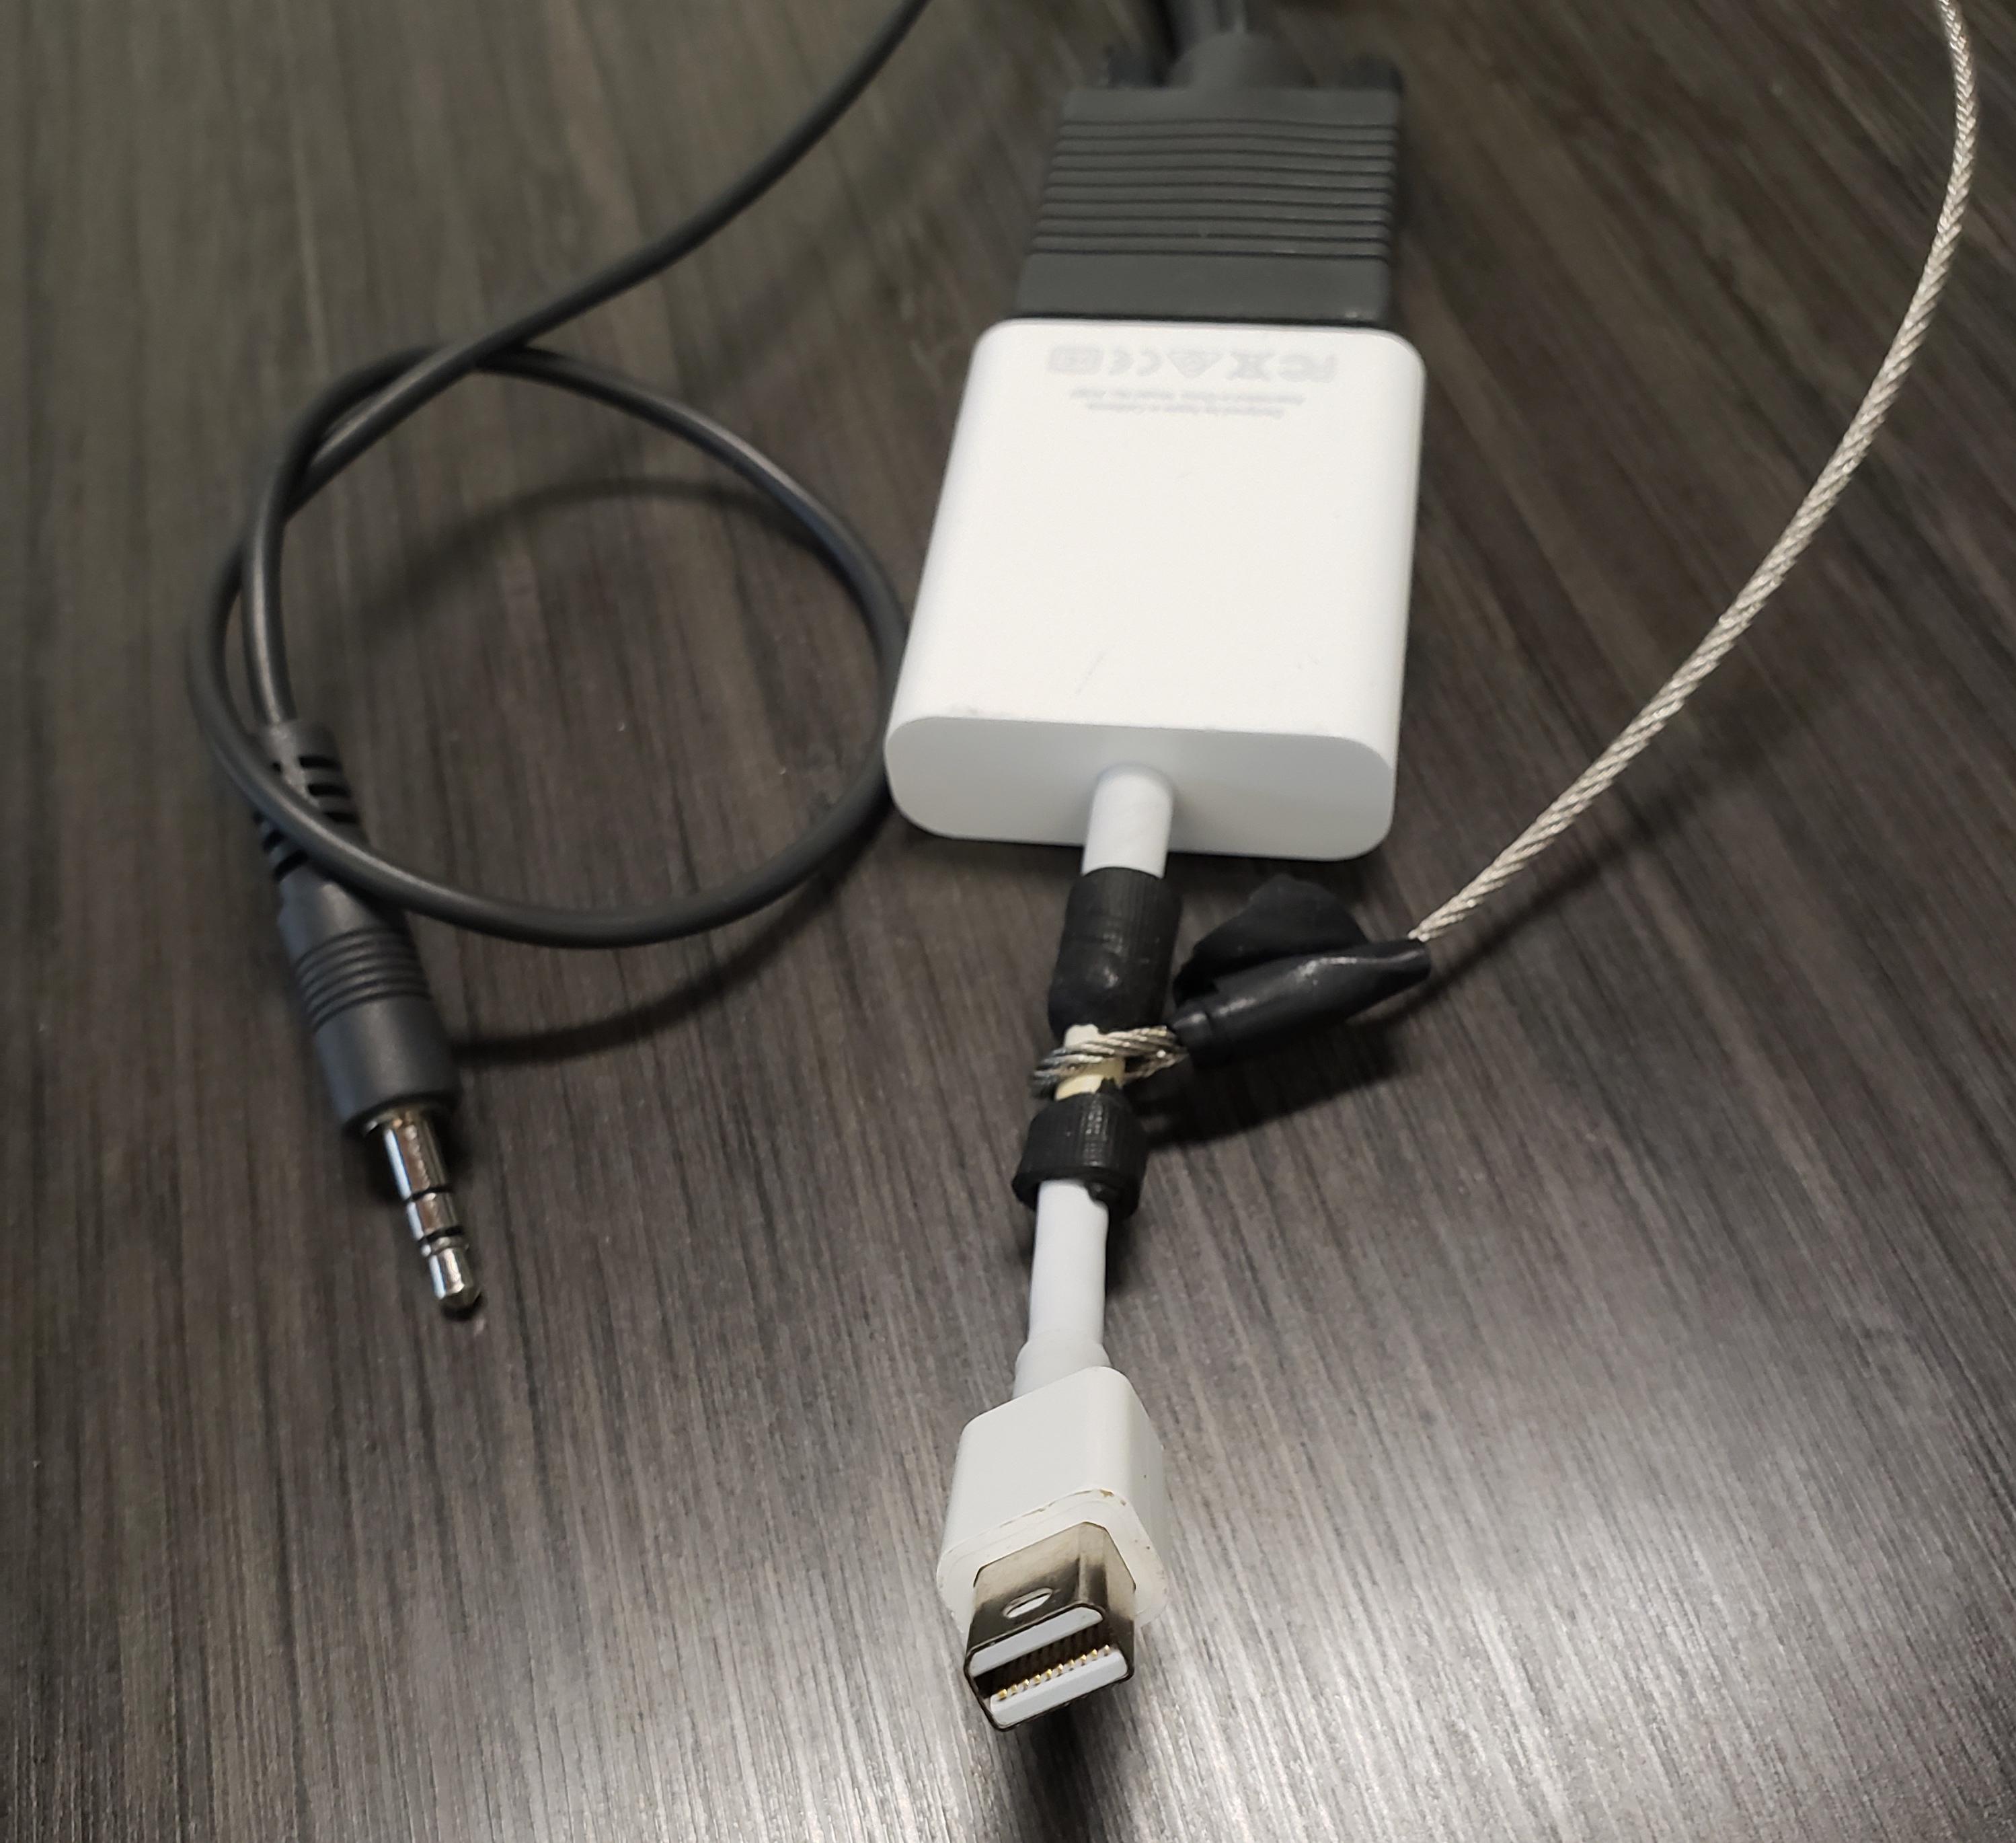 3b.
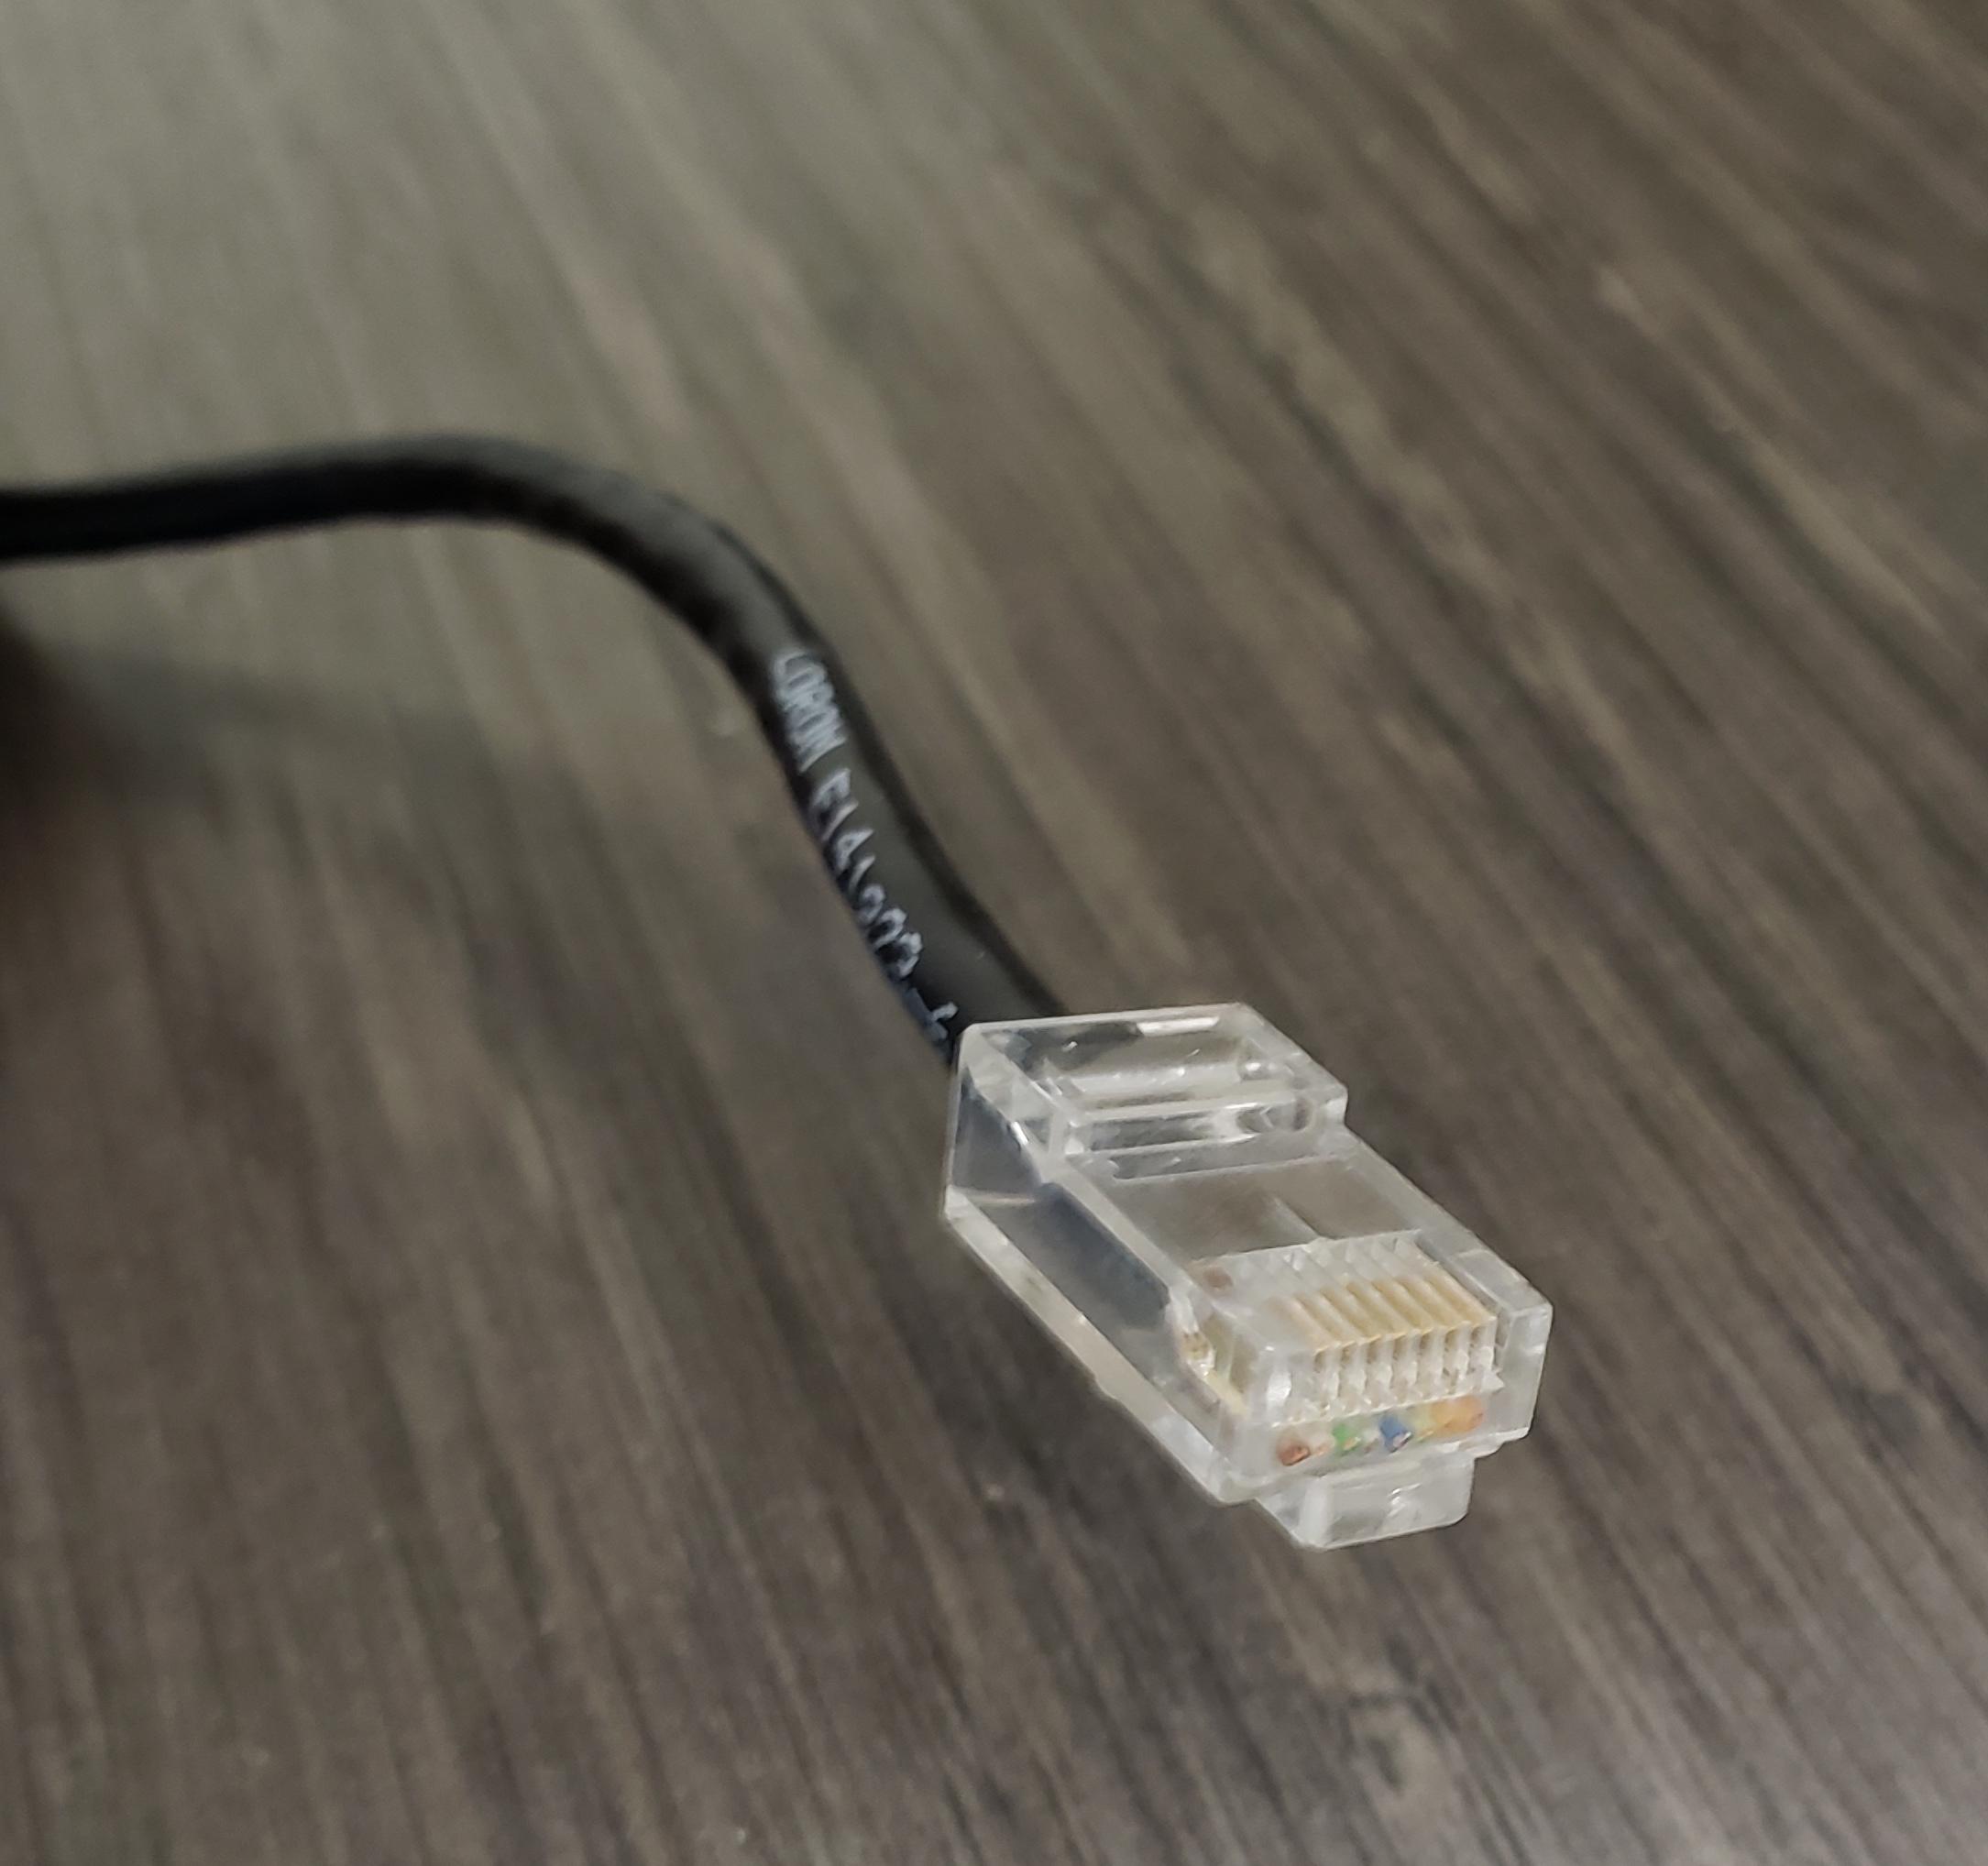
3b. - Optionally, you may also connect your laptop to the wired network with the Ethernet cable (shown below). You will be prompted automatically or redirected when attempting to browse the Internet to login with your CWL credentials on your computer.
- On the Creston panel on the wall beside the screen, press "power on". If connected to the screen via Thunderbolt, select "laptop". If connected to the screen with HDMI from step 3, select "HDMI". If connected to the screen with VGA from step 3, select "video".
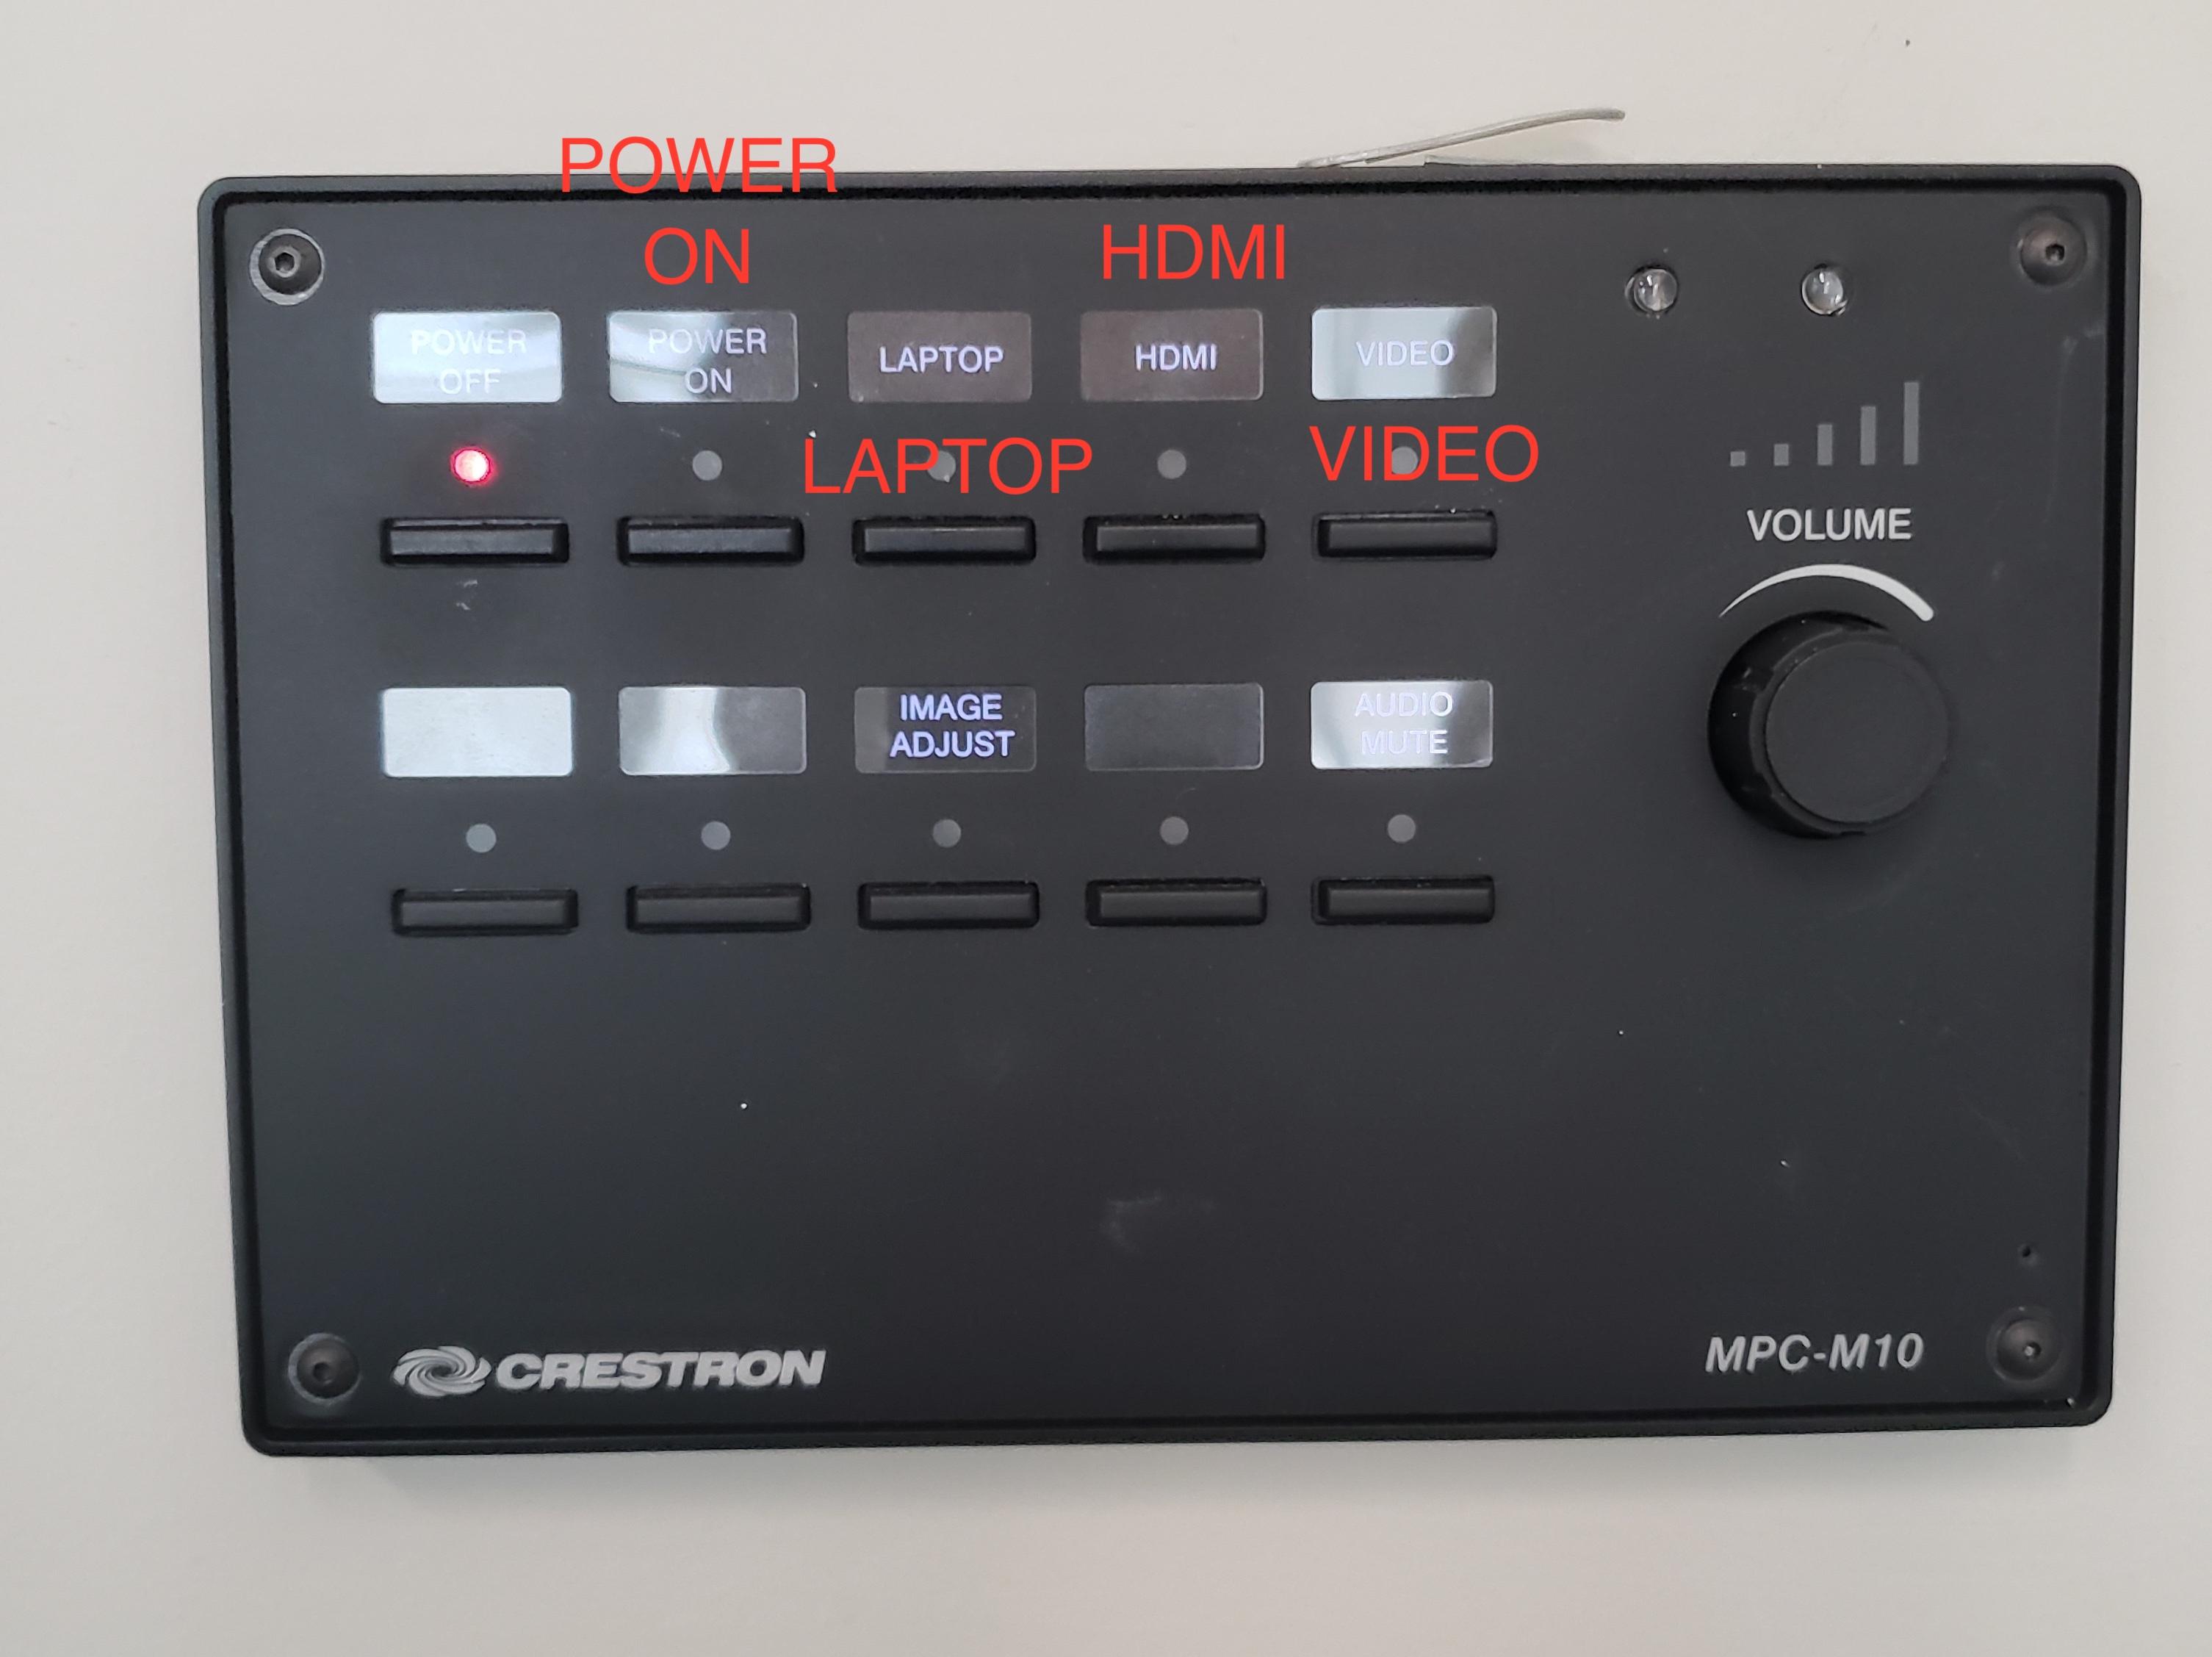
- You may also adjust the volume output with the knob.
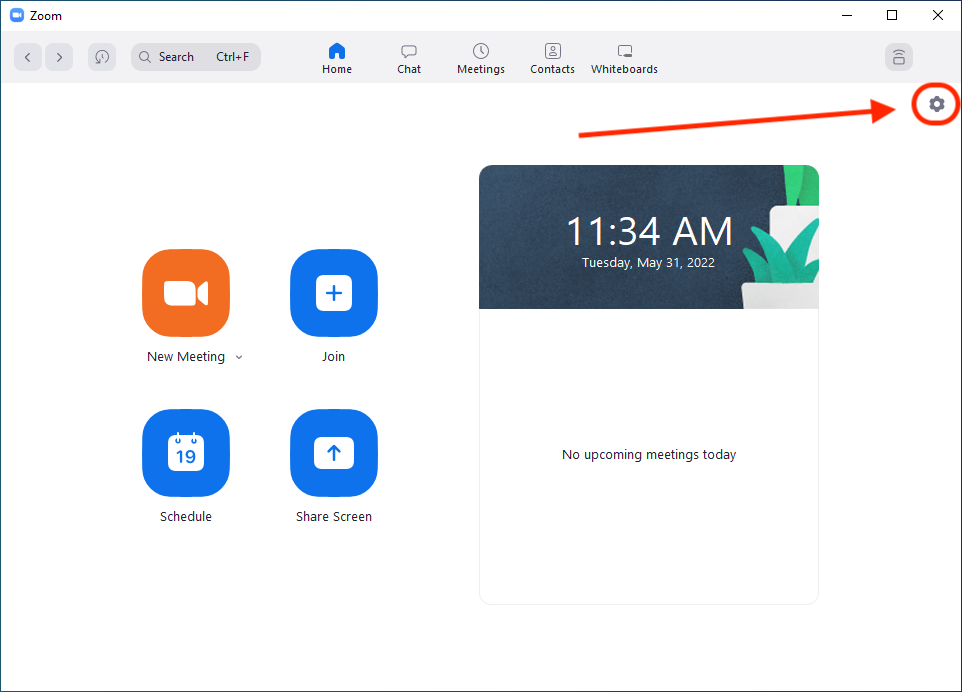
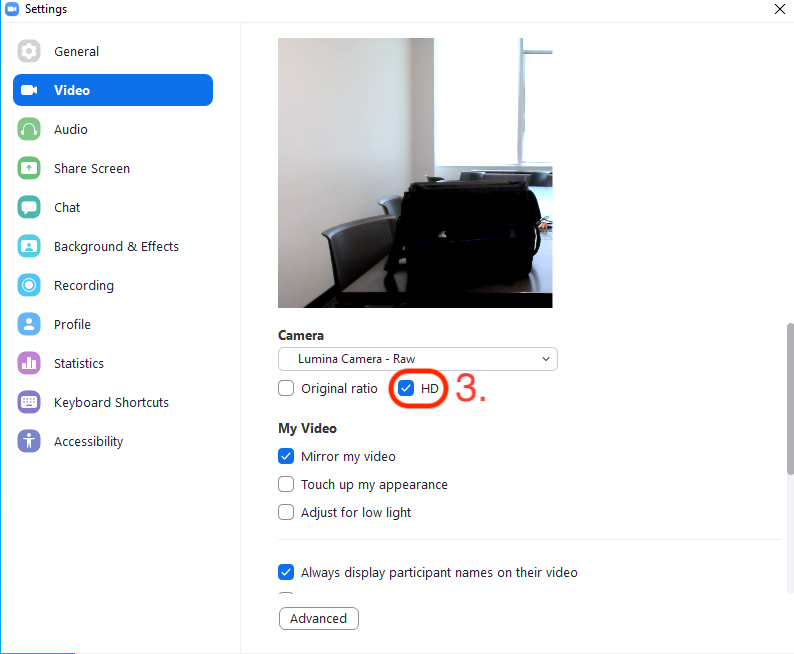
- On Zoom, click on the cog button.
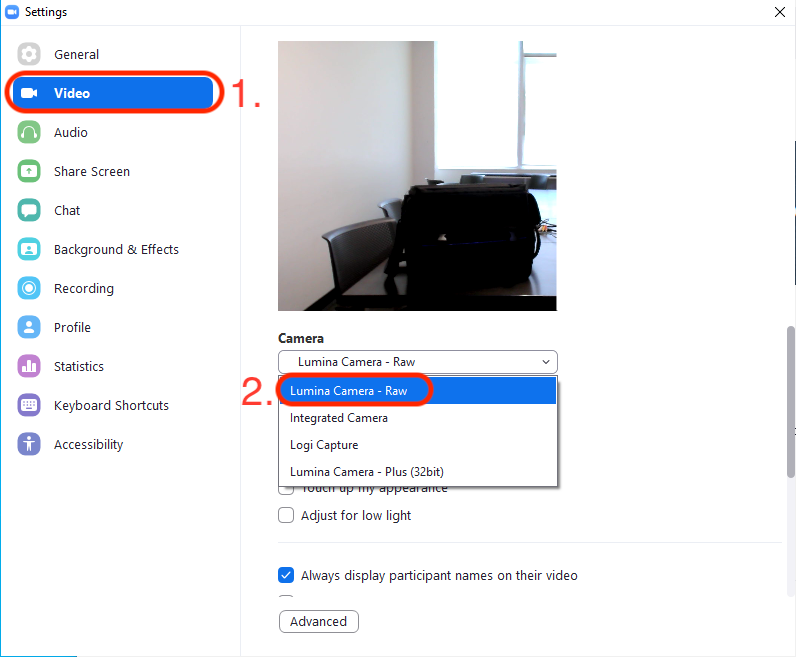
- Click on "Video" on the left hand side (1) and in the camera dropdown menu, select "Lumina Camera - Raw" (2). Check the "HD" checkbox (3).
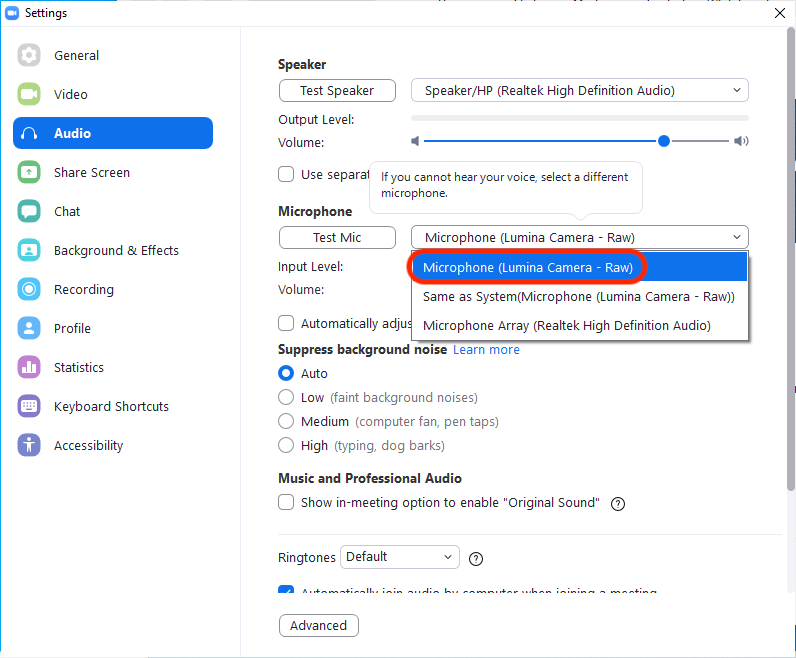
- Click on "Audio" on the left hand side (1) and in the speaker dropdown menu, select "PN-E702" or "Creston" if connected to the screen via Thunderbolt or if connected to the screen with HDMI from step 3. If connected to the screen with the 3.5mm cable, select "Speakers" or "Headphones" (2). You can test if there is sound by clicking the "Test Speaker" button (3).

- In the microphone dropdown menu, select "Microphone (Lumina Camera - Raw)".
- You are now setup!
Troubleshooting
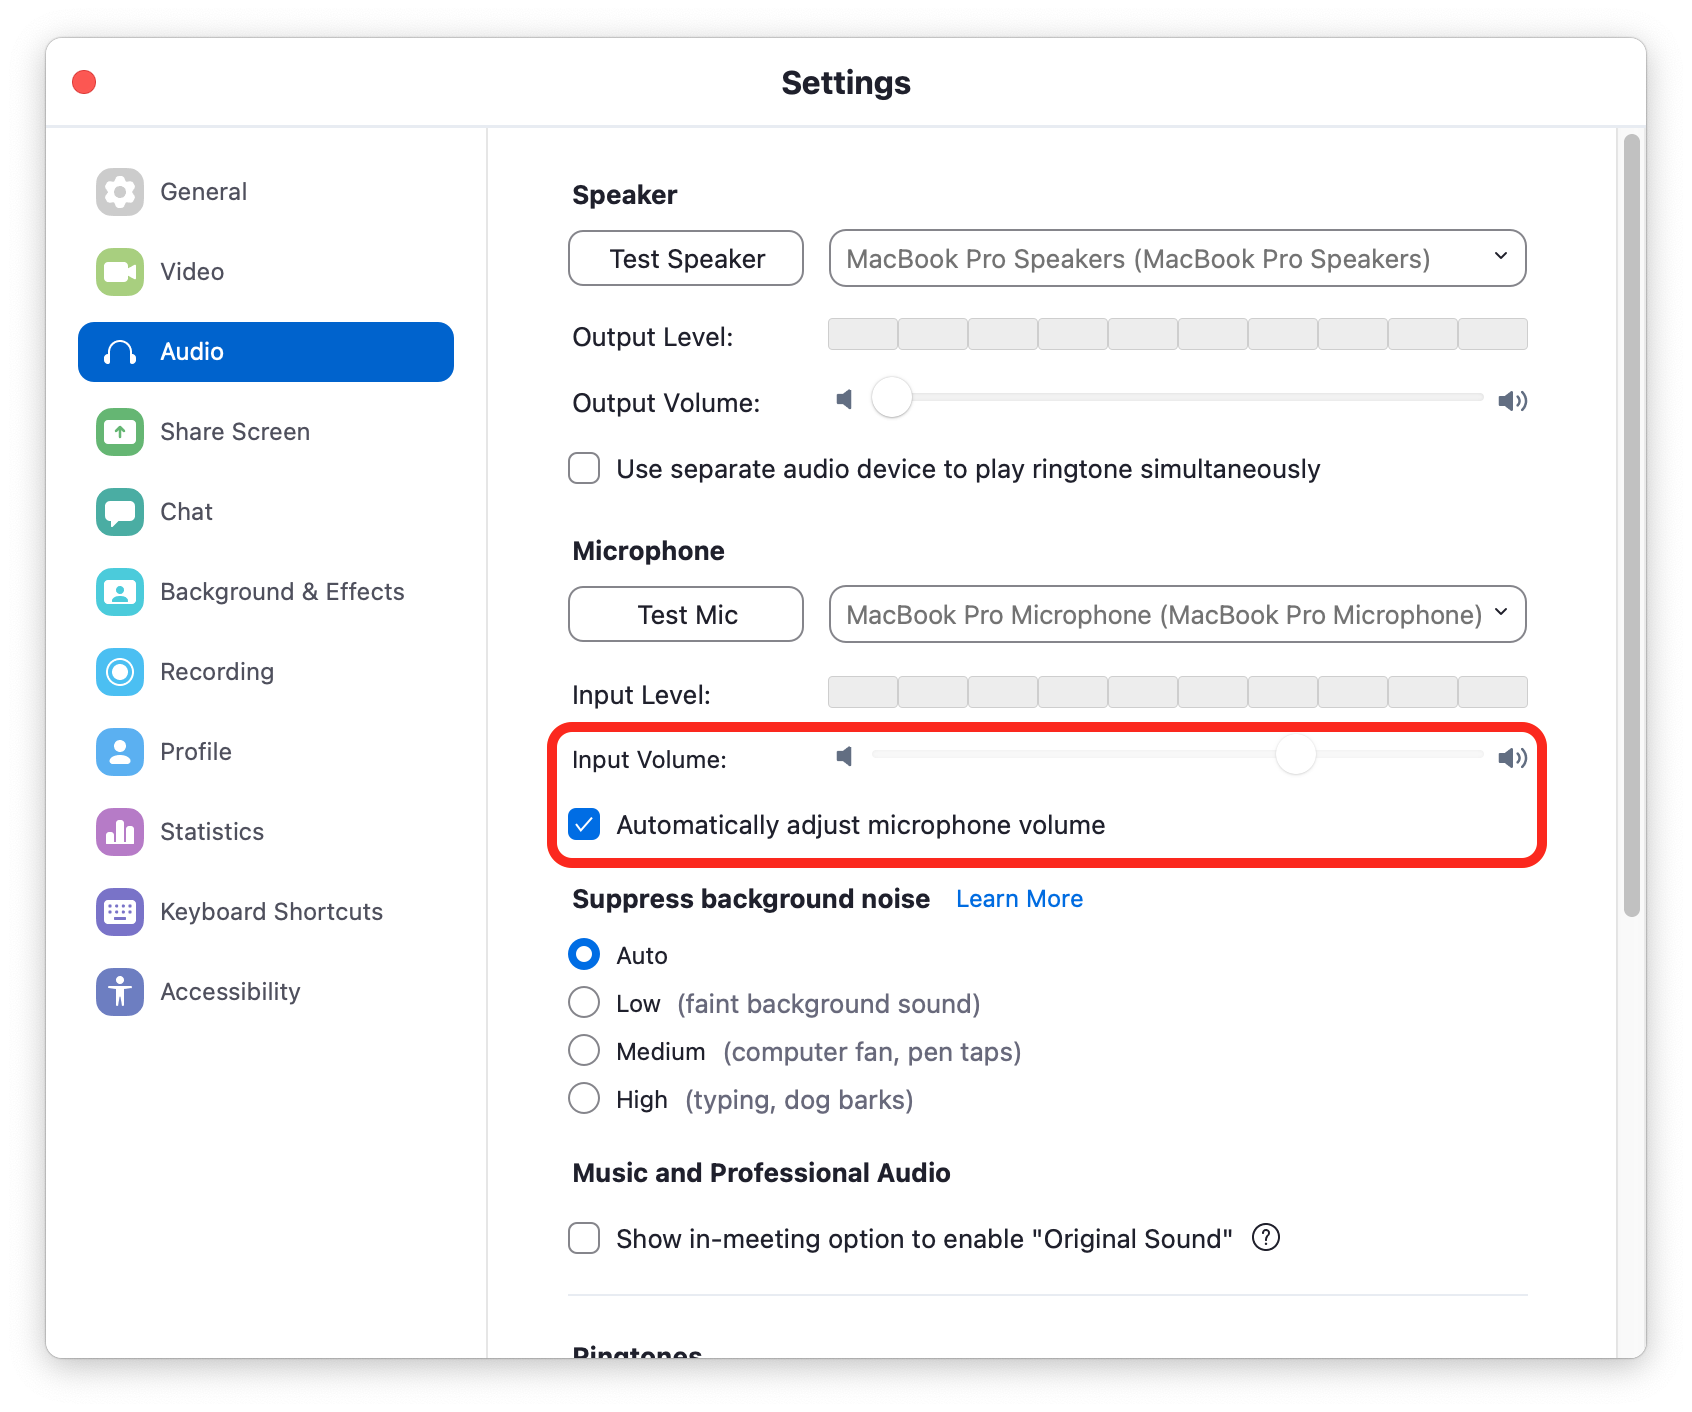
- If the mic volume output is low, adjust the microphone input volume. If it cannot be adjusted, uncheck "automatically adjust microphone volume". If the mic volume is still low, unplug and re-plug the webcam to see if it resolves the issue, make sure "Microphone (Lumina Camera - Raw)" is selected afterwards.
- If there is no sound, check the correct speaker output is selected and increase the volume on the Creston panel and your laptop.
- If there is no image on the screen for Macbooks, go to the Settings app -> Displays -> Display Settings. Select "PN-E702" on the left hand side and choose 30Hz or 24Hz for the refresh rate and apply. Adjust the underscan slider if your image is cropped on the screen.